
I have a goal to be frugal this year. And I’m hoping that goal will spur my creativity. One of the first projects I’ve done is to make my own bookmarks. If you’ve been reading my posts for awhile, you will have seen the Bookmark Shadowbox post I did last year. Well, I happen to love bookmarks, but at 3-5 dollars a pop, I can’t afford them in my new frugal life.


So I decided to make some. Not only is it a good up cycle project – something you can make for gifts, thank you’s, and to even carry personnel messages – it’s fun.
Step One – Supplies
For my bookmarks, I used a movie magazine – the ones you get free when you go to the theatre. You will also need clue, thin cardboard (like a used waffle box), scissors, and packing tape.
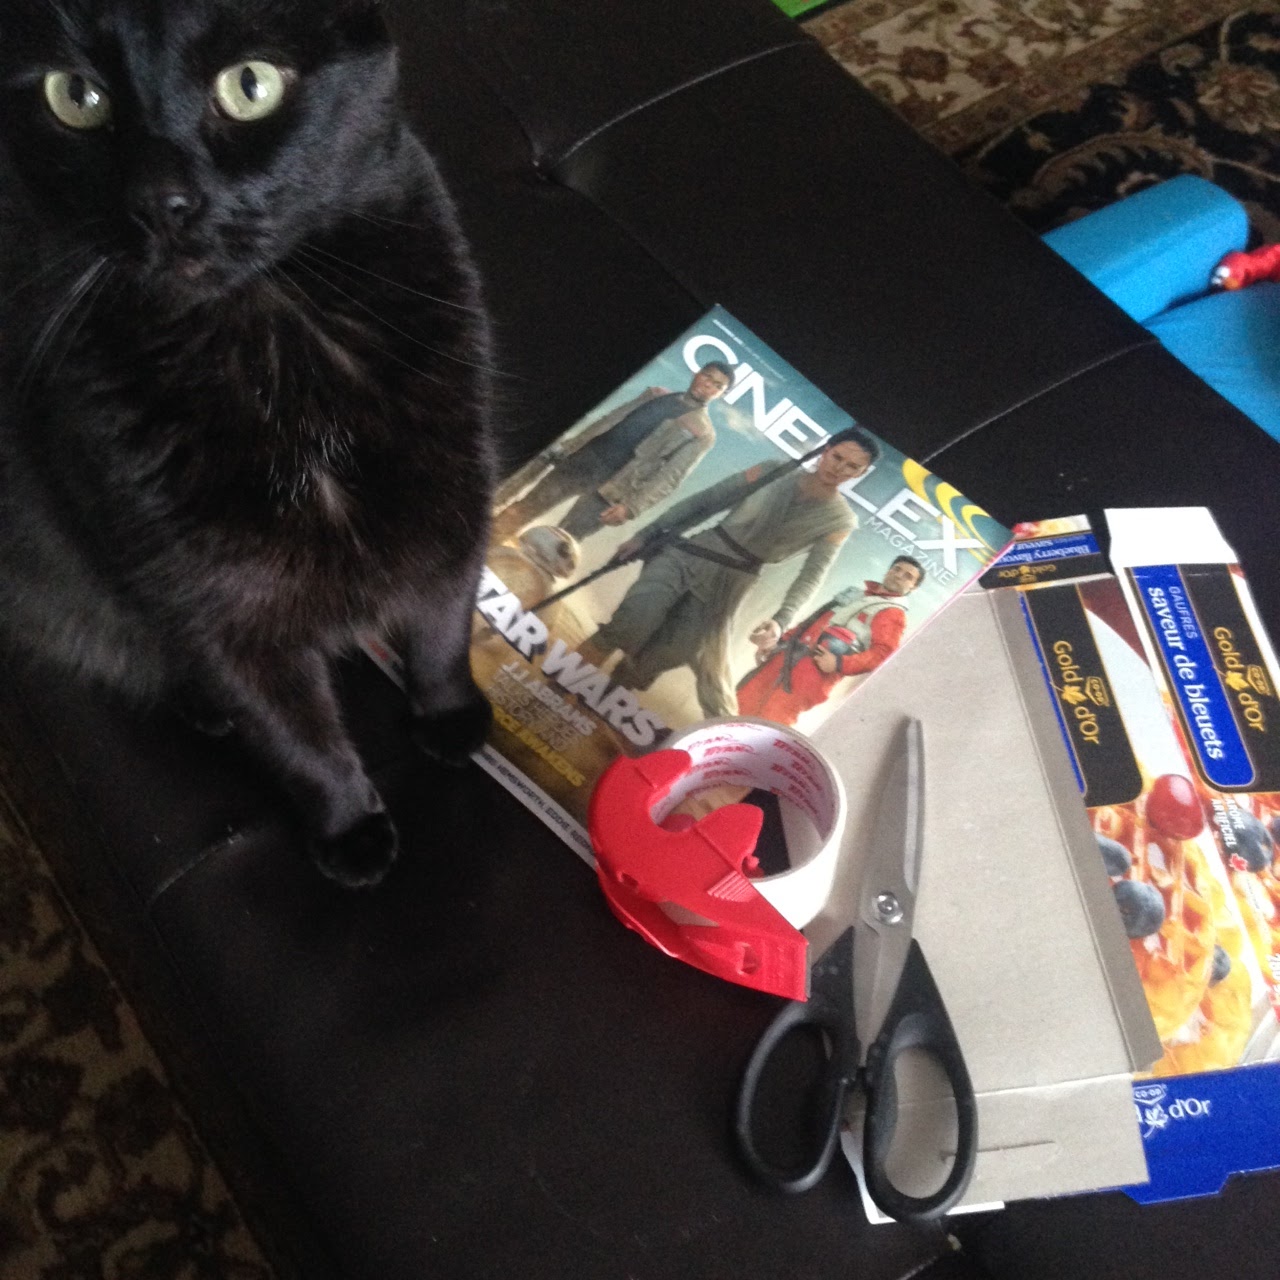
This is my cat ‘helping’.
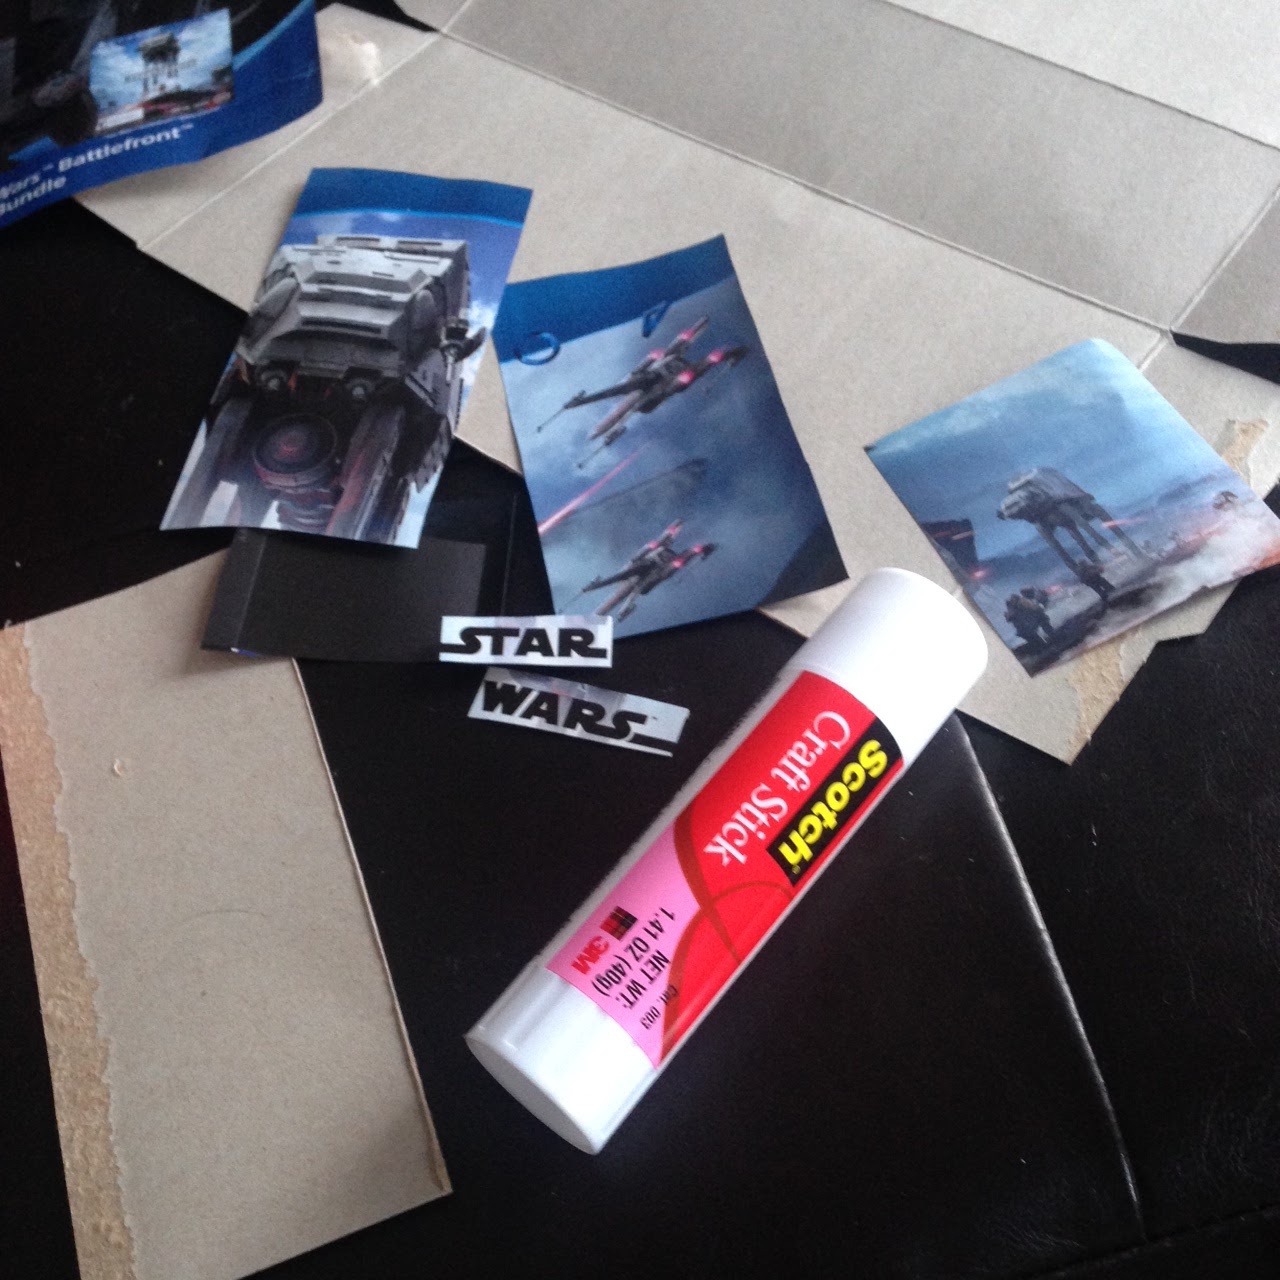
Step 2 – Cutting
Cut the cardboard to the size you want. Then cut pictures – or draw your own – that match the size of the cardboard.
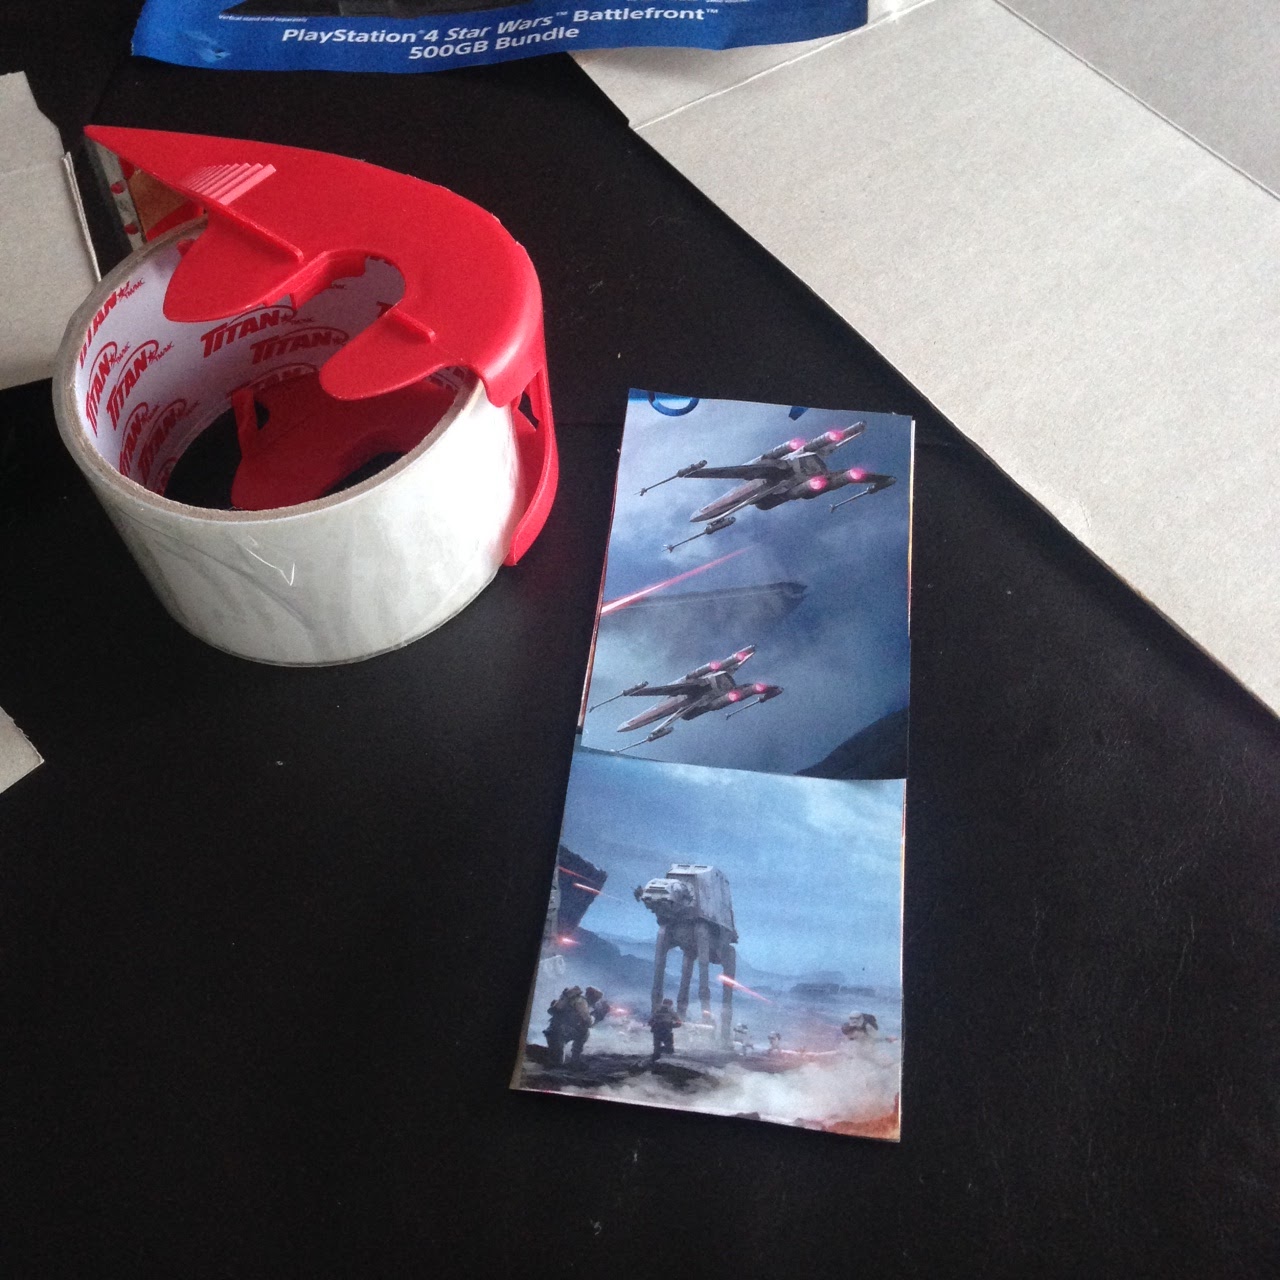
Step 3 – Glueing and Taping
First glue the pictures to the cardboard to keep them in black. Then cover with a single piece of packing tape, making care to carry the tape over the edge of the bookmark. Press the tape firmly to the bookmark. Flip the bookmark over and tape the other side so that the bookmark is fully encapsulated in the tape.
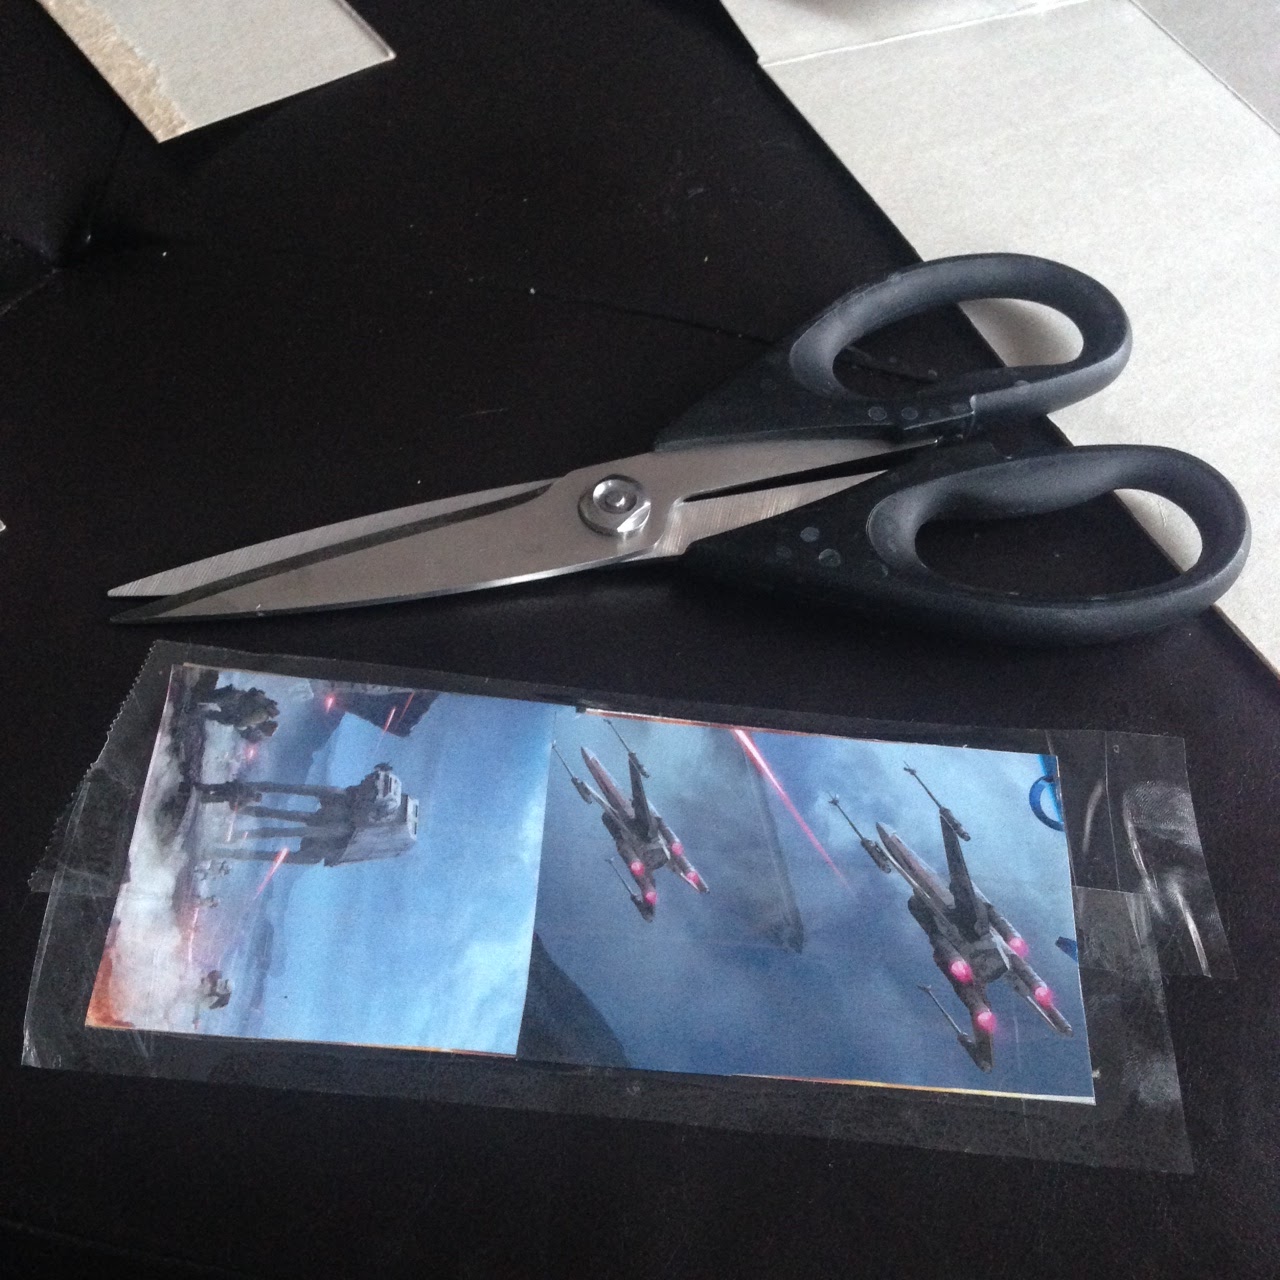
Step 4 – Trimming
Trim the overhanging tape so that only a millimetre or two is left bordering the bookmark. Ta Da – you’re done!
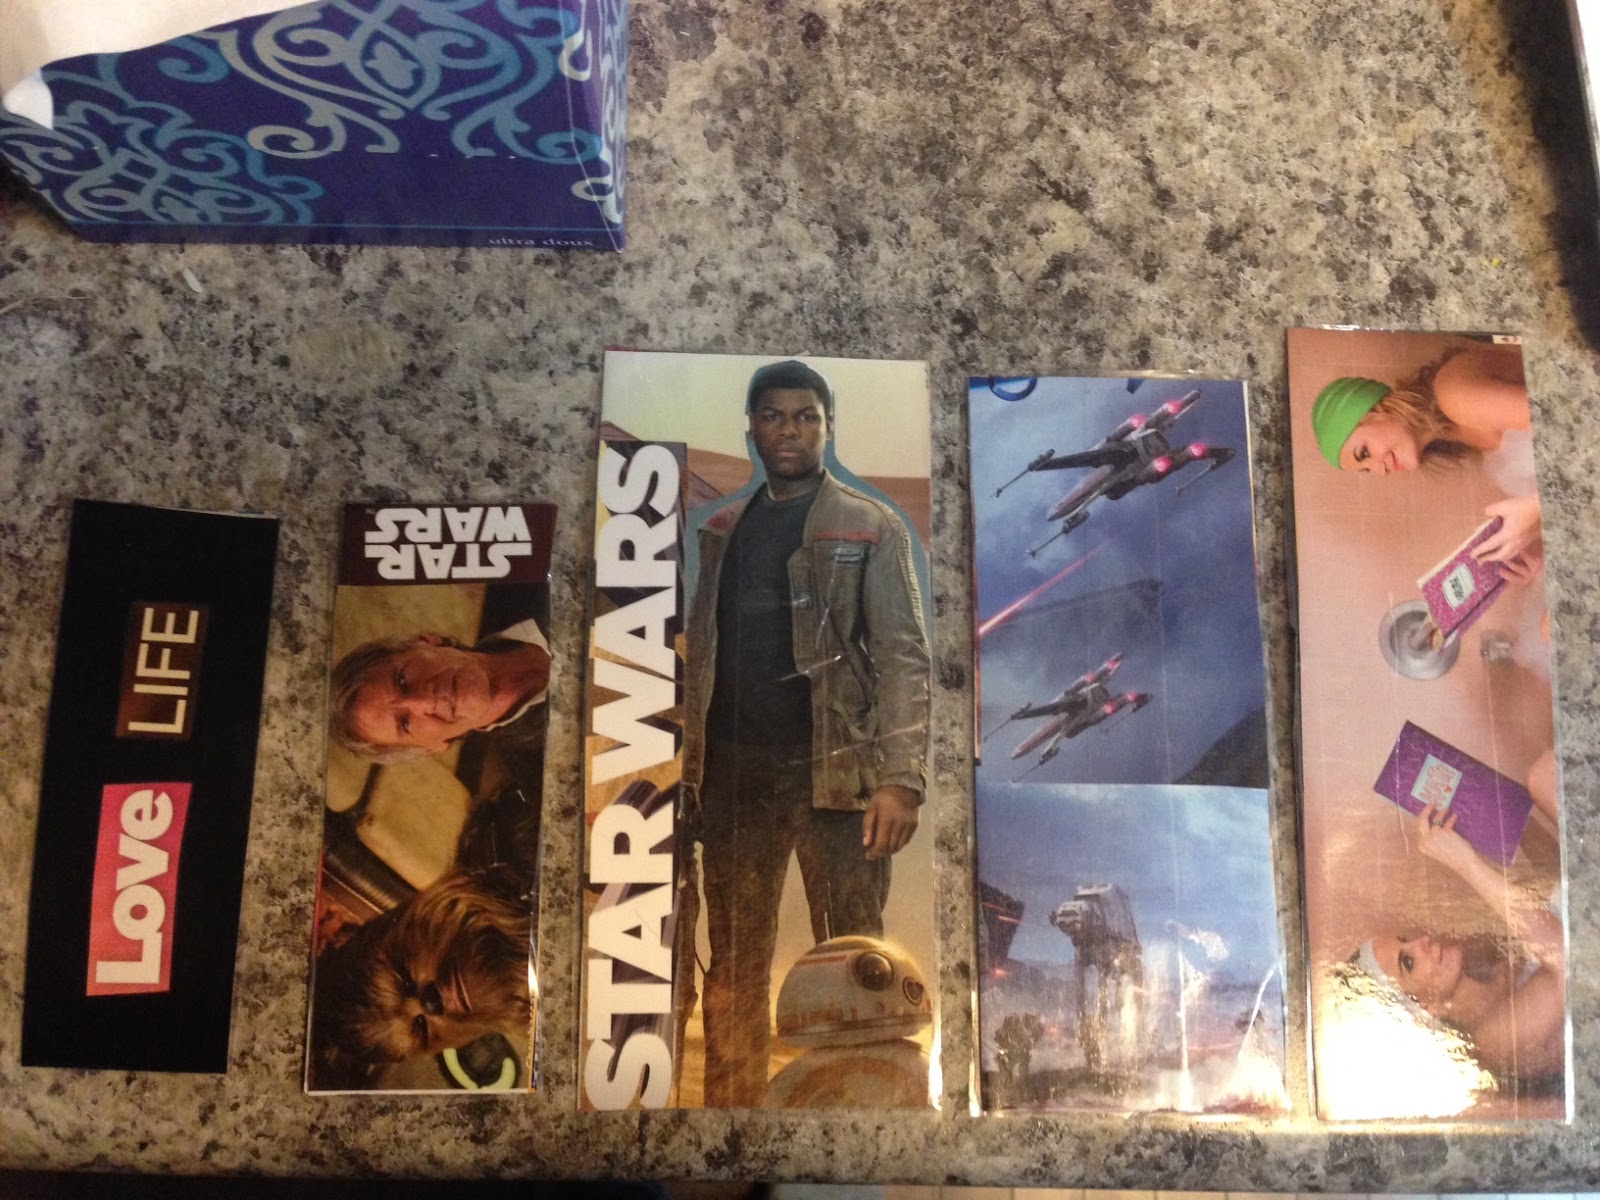
Here are some pictures of the fronts and backs of some bookmarks I made last week (fronts and backs). All of them already in use!

Join me next week when we upcycle notebooks!
